
Writing tests is one thing. Running them on real devices — dozens of different phones, OS versions, and screen sizes — is another problem entirely. You probably don't own a closet full of Pixels and iPhones, and emulators only get you so far.
Firebase Test Lab solves that. It's a cloud of real, physical devices (and Android virtual devices) sitting in Google's data centers, and it will happily run your Flutter integration tests on all of them. This guide walks through the whole pipeline: setting up integration_test, writing a test, running it locally, shipping it to Test Lab for both Android and iOS, and finally wiring it into CI so it runs on every pull request.
A note on versions: Flutter, the gcloud CLI, and Xcode all evolve, and the exact build commands occasionally shift between major releases. The flow below reflects the long-standing, documented approach, but if a command behaves unexpectedly, cross-check it against the current Flutter and Firebase docs for your tool versions.
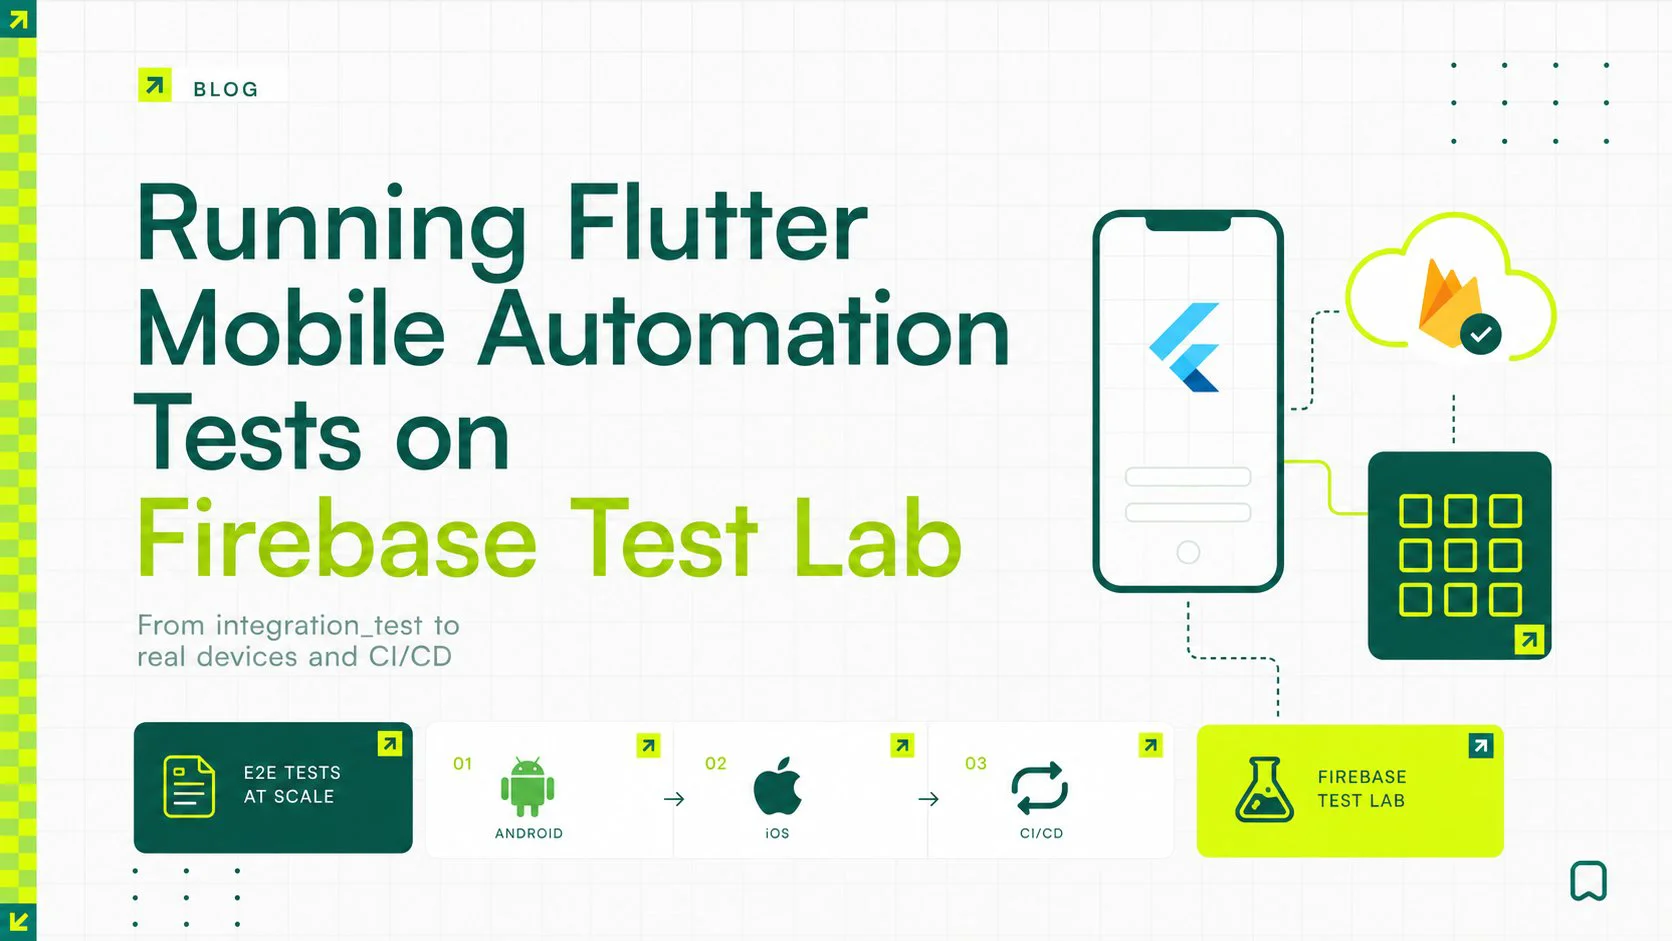
Table of Contents
0. Why integration_test + Firebase Test Lab
1. Add integration_test to your project
2. Write your first integration test
3. Organize multiple tests into a single entry point
4. Run it locally first
5. Run on Firebase Test Lab: Android
6. Run on Firebase Test Lab: iOS
7. Automate it in CI/CD
8. Gotchas and tips
Why integration_test + Firebase Test Lab
Flutter has a three-layer testing model:
test package) — pure Dart logic, no UI, blisteringly fast.flutter_test) — individual widgets rendered on a headless engine, still no real device.integration_test) — your full app running on a real device or emulator, end to end.The first two never leave your machine. Integration tests are the ones that benefit from real hardware, and the official integration_test package was specifically designed to work with Firebase Test Lab. On Android it wraps your test as an Espresso instrumentation test; on iOS it produces an XCTest bundle. That means a single Dart test suite runs natively on both platforms across Test Lab's device matrix. That's the combination we're building.
Prerequisites
Before starting, make sure you have:
PATH.gcloud) installed and authenticated. Test Lab is billed through Google Cloud, so the project needs billing enabled.Authenticate and point gcloud at your project once:
gcloud auth login
gcloud config set project YOUR_FIREBASE_PROJECT_ID
Step 1 — Add integration_test to your project
Add the package as a dev dependency. It ships with the Flutter SDK, so you pin it to the SDK rather than a version number:
# pubspec.yaml
dev_dependencies:
  integration_test:
    sdk: flutter
  flutter_test:
    sdk: flutter
Then fetch packages:
flutter pub get
Create an integration_test/ directory at the root of your project (next to lib/ and test/). This is where your end-to-end tests live.
Step 2 — Write your first integration test
Integration tests look a lot like widget tests, but they call IntegrationTestWidgetsFlutterBinding.ensureInitialized() and drive the real app. Here's a simple example that launches the app, finds a counter, taps a button, and verifies the result:
// integration_test/app_test.dart
import 'package:flutter/material.dart';
import 'package:flutter_test/flutter_test.dart';
import 'package:integration_test/integration_test.dart';

import 'package:my_app/main.dart' as app;

void main() {
  // Required: binds the test framework to the live app on the device.
  IntegrationTestWidgetsFlutterBinding.ensureInitialized();

  group('end-to-end flow', () {
    testWidgets('increments the counter', (tester) async {
      // Launch the real app.
      app.main();
      await tester.pumpAndSettle();

      // Verify the starting state.
      expect(find.text('0'), findsOneWidget);

      // Interact with the UI.
      final fab = find.byType(FloatingActionButton);
      await tester.tap(fab);
      await tester.pumpAndSettle();

      // Verify the result.
      expect(find.text('1'), findsOneWidget);
    });
  });
}
A few tips on writing these well:
pumpAndSettle() after interactions to let animations and async work finish, but be aware it can hang on infinite animations (like a loading spinner) — fall back to pump(Duration(...)) in those cases.find.byKey(const Key('login_button'))) rather than by text. Keys survive copy changes and localization.testWidgets block focused on one user journey. Long monolithic tests are painful to debug when they fail on a remote device.Step 3 — Organize multiple tests into a single entrypoint
Here's a detail that surprises people: the Gradle and Xcode builds bundle exactly one Dart entrypoint into the test artifact. The -Ptarget=... flag you'll see in the build commands below points at a single file. So if you keep three separate test files and treat each as its own entrypoint, you'd have to build and dispatch to Test Lab three separate times — and each dispatch spins up the device, installs the app, and tears it down again, multiplying your cloud minutes.
You almost never want that. The standard pattern is to keep your tests split across files for readability, then aggregate them into one entrypoint that you build against. Lay the directory out like this:
integration_test/
  login_test.dart
  checkout_test.dart
  profile_test.dart
  all_tests.dart   <- the aggregator you build against
Each individual file is written normally — its main() registers its own testWidgets blocks. The aggregator simply calls each one:
// integration_test/all_tests.dart
import 'package:integration_test/integration_test.dart';

import 'login_test.dart' as login;
import 'checkout_test.dart' as checkout;
import 'profile_test.dart' as profile;

void main() {
  IntegrationTestWidgetsFlutterBinding.ensureInitialized();

  login.main();
  checkout.main();
  profile.main();
}
This works because calling each main() just registers its test groups into the same run. (It's safe for the individual files to call ensureInitialized() themselves too — it's fine to call more than once.) You then build against all_tests.dart once, and every test executes in a single Test Lab run.
Two things to keep in mind with the bundled approach:
If a suite genuinely needs isolation — say it requires a completely different app configuration — then a separate build and Test Lab run is the right call for that one. Otherwise, bundle everything into all_tests.dart.
Step 4 — Run it locally first
Always confirm the test passes on a connected device or emulator before paying for cloud minutes:
flutter test integration_test/app_test.dart
If that's green, you're ready to take it to the cloud.
Step 5 — Run on Firebase Test Lab: Android
Test Lab runs Android tests as instrumentation tests, so you need two APKs: the app itself and the test harness. Build both from the android/ directory using Gradle:
pushd android
# Build the instrumentation (test) APK.
./gradlew app:assembleAndroidTest

# Build the debug app APK, pointing at your aggregated test entrypoint.
./gradlew app:assembleDebug -Ptarget=integration_test/all_tests.dart
popd
This produces two files:
build/app/outputs/apk/debug/app-debug.apk — your app.build/app/outputs/apk/androidTest/debug/app-debug-androidTest.apk — the test harness.Now hand them to Test Lab. You specify devices with --device flags, and you can pass several to fan out across a matrix:
gcloud firebase test android run \
  --type instrumentation \
  --app build/app/outputs/apk/debug/app-debug.apk \
  --test build/app/outputs/apk/androidTest/debug/app-debug-androidTest.apk \
  --device model=MediumPhone.arm,version=33,locale=en,orientation=portrait \
  --device model=redfin,version=30,locale=en,orientation=portrait \
  --timeout 5m
You can list the currently available device models and OS versions with:
gcloud firebase test android models list
When the run finishes, the CLI prints a link to the results in the Firebase console — logs, a video recording, screenshots, and per-device pass/fail.
Step 6 — Run on Firebase Test Lab: iOS
iOS is a little more involved because you build through Xcode and package the result yourself. This requires macOS.
First, generate the Flutter build configuration pointing at your test target:
flutter build ios --config-only integration_test/all_tests.dart
Then build for testing with xcodebuild from the ios/ directory. This compiles the app and the test bundle without running them:
pushd ios
xcodebuild build-for-testing \
  -workspace Runner.xcworkspace \
  -scheme Runner \
  -xcconfig Flutter/Release.xcconfig \
  -configuration Release \
  -derivedDataPath ../build/ios_integ \
  -sdk iphoneos
popd
The build output lands in build/ios_integ/Build/Products. Test Lab expects a zip containing the built Release-iphoneos product directory and the generated .xctestrun file:
pushd build/ios_integ/Build/Products
zip -r ios_tests.zip Release-iphoneos *.xctestrun
popd
Finally, ship the zip to Test Lab:
gcloud firebase test ios run \
  --test build/ios_integ/Build/Products/ios_tests.zip \
  --device model=iphone14pro,version=16.6,locale=en_US,orientation=portrait \
  --timeout 5m
As with Android, you can enumerate available iOS devices:
gcloud firebase test ios models list
Step 7 — Automate it in CI/CD
Running these commands by hand is fine for a first try, but the real payoff is running them automatically on every pull request. Here's a GitHub Actions workflow that builds the Android artifacts and dispatches them to Test Lab. (iOS would be a parallel job on a macos-latest runner following the build steps above.)
# .github/workflows/test-lab.yml
name: Firebase Test Lab

on:
  pull_request:
    branches: [main]

jobs:
  android-test-lab:
    runs-on: ubuntu-latest
    steps:
      - uses: actions/checkout@v4

      - uses: subosito/flutter-action@v2
        with:
          channel: stable

      - run: flutter pub get

      - name: Build app and test APKs
        run: |
          pushd android
          ./gradlew app:assembleAndroidTest
          ./gradlew app:assembleDebug -Ptarget=integration_test/all_tests.dart
          popd

      - name: Authenticate to Google Cloud
        uses: google-github-actions/auth@v2
        with:
          credentials_json: ${{ secrets.GCP_SA_KEY }}

      - uses: google-github-actions/setup-gcloud@v2

      - name: Run on Firebase Test Lab
        run: |
          gcloud firebase test android run \
            --type instrumentation \
            --app build/app/outputs/apk/debug/app-debug.apk \
            --test build/app/outputs/apk/androidTest/debug/app-debug-androidTest.apk \
            --device model=MediumPhone.arm,version=33 \
            --timeout 5m
Two things make this work:
GCP_SA_KEY repository secret. The auth action uses it instead of an interactive login.Gotchas and tips
A handful of things that tend to trip people up:
pumpAndSettle. If a test hangs, an infinite animation is usually the culprit. Replace pumpAndSettle() with explicit pump(Duration(milliseconds: 500)) calls around the offending widget.integration_test. The package only understands the Flutter widget layer. If your test needs to tap an OS permission prompt, a system share sheet, or a native WebView, plain integration_test can't reach it. Reach for Patrol, a framework built on top of integration_test that adds exactly this native-interaction capability (and it also works with Test Lab).--timeout flag kills the whole run; make sure it comfortably exceeds your slowest test, or you'll get false failures.Wrapping up
The pattern is the same on both platforms: write one suite of Dart integration tests, build the platform-specific test artifacts, and let gcloud firebase test run them on real hardware in the cloud. The investment is mostly upfront — once the build commands and a service account are wired into CI, every pull request gets validated across real devices with no manual effort.
If your app stays inside the Flutter layer, integration_test plus Test Lab is all you need. The moment you have to interact with native system UI, add Patrol on top and keep the same Test Lab pipeline. Either way, you go from "works on my machine" to "verified on real phones" — which is exactly the confidence you want before shipping.
Happy Coding : )
Loading…